
Marketplace Installation - AMI Configuation
AMI Configuration and Stack Launch
Learn how to configure and launch custom AMIs efficiently in your application stack for enhanced performance and scalability.
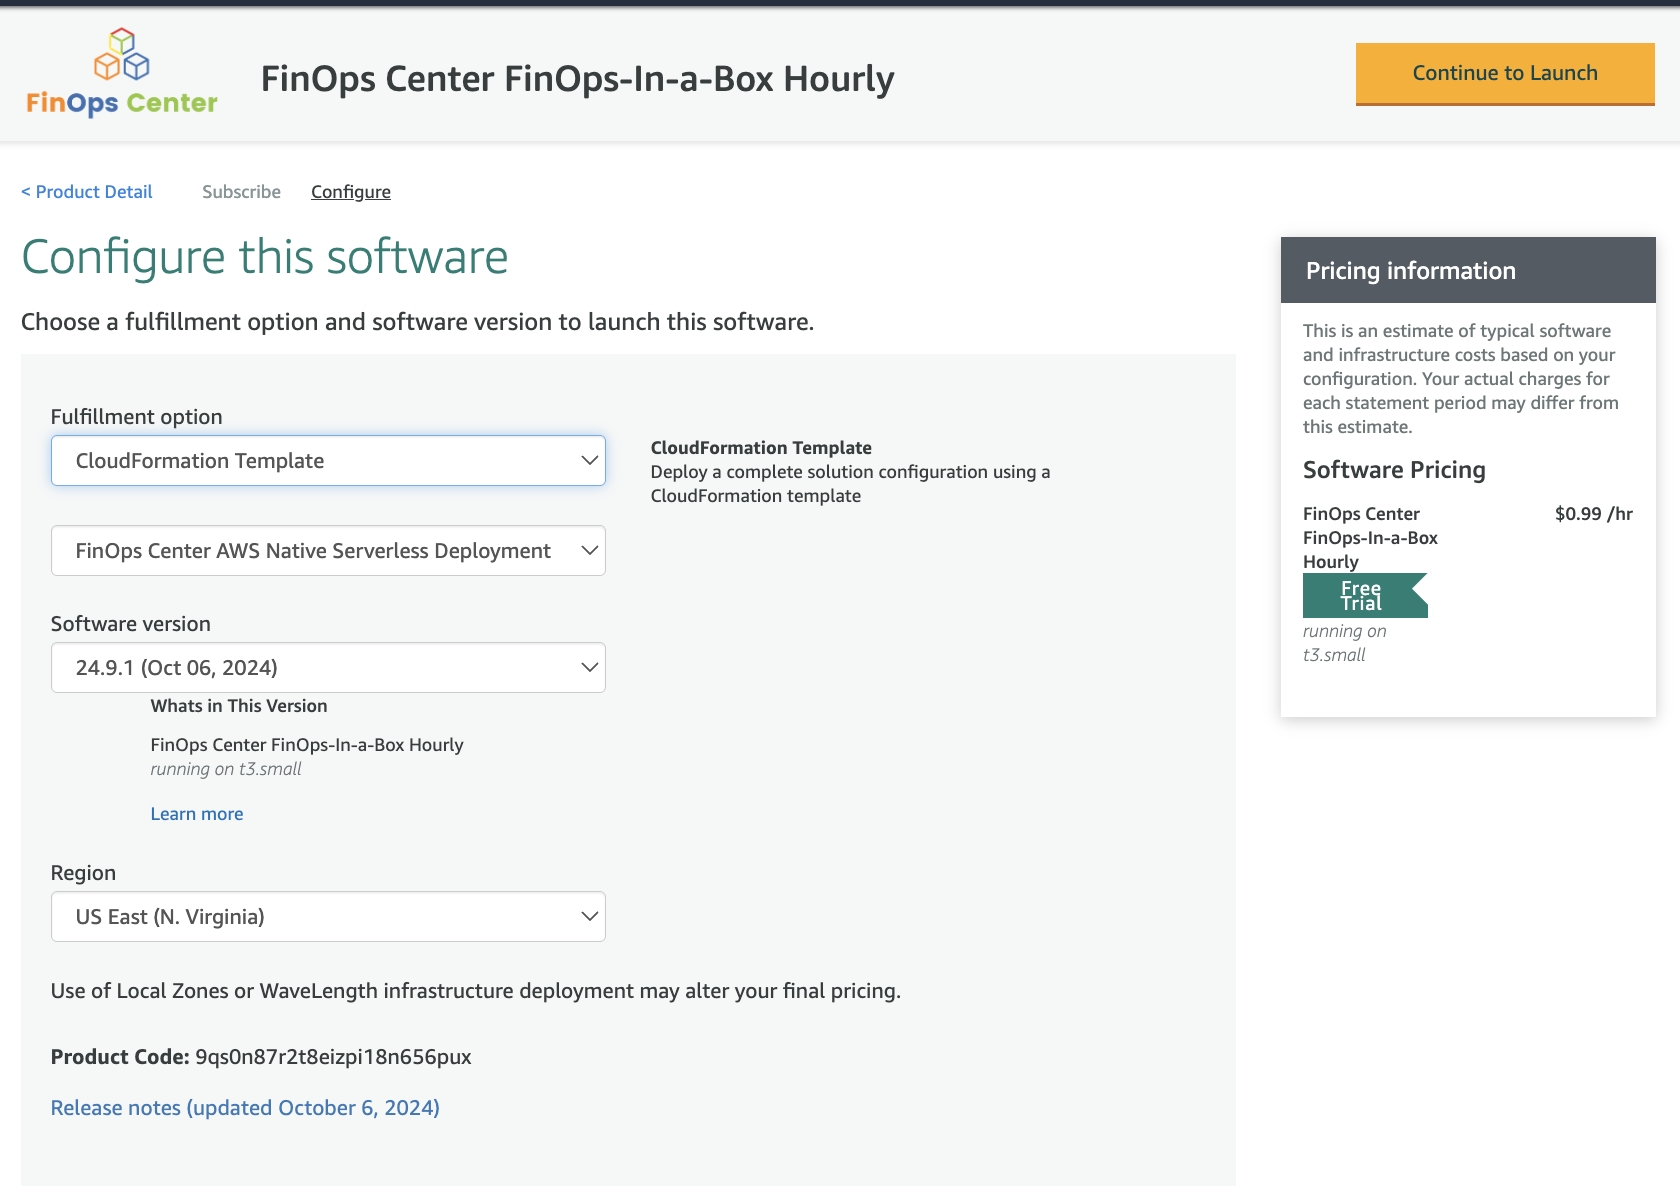
Navigate to the AWS Marketplace and Search for FinOps Center (FinOps-in-a-Box or Enterprise Versions)
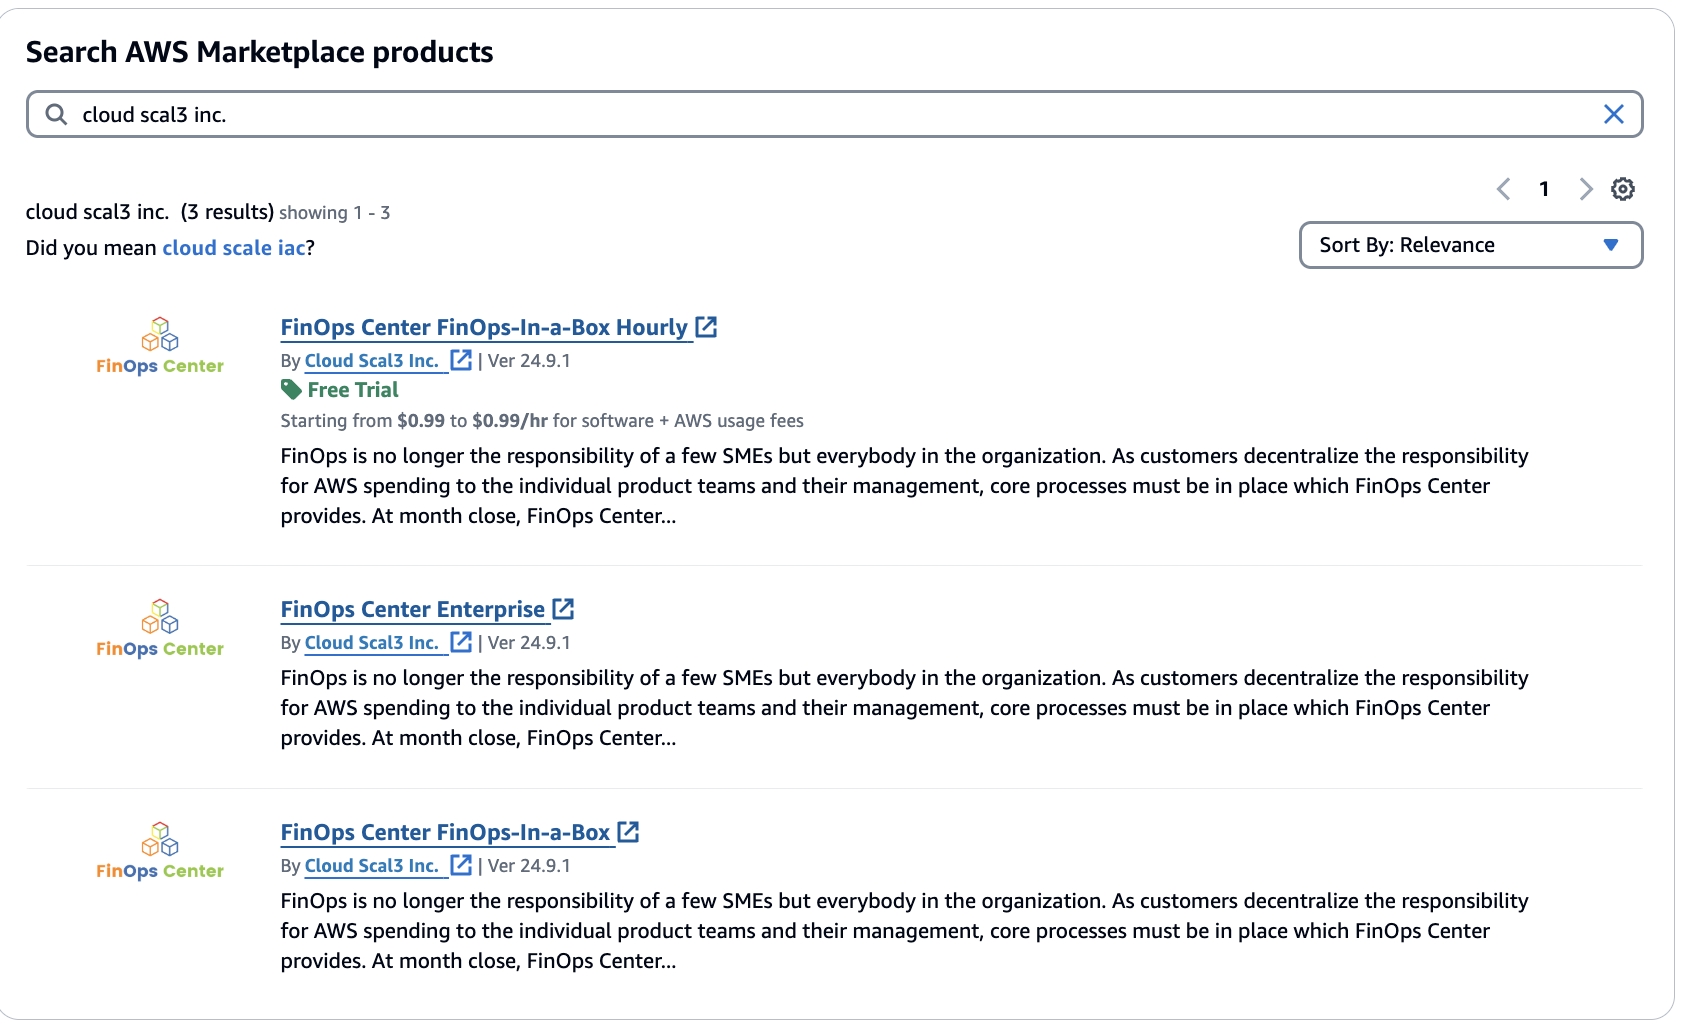
Click to Zoom
ATTENTION: FinOps Center will be deployed from CloudFormation via S3. The below instruction will create an EC2 deployment via and AMI. Upon creation, the EC2 instance will create the bucket with the CloudFormation Scripts and JSON to be used in lunch in CloudFormation. Upon completion (when the bucket and packages are deployed) the instance that is created can be shut down. During the installation, a EC2 Role needs to be created with IAM Scope defined below to enable the creation and copying of files for the CloudFormation Installation.
Continue to Subscribe
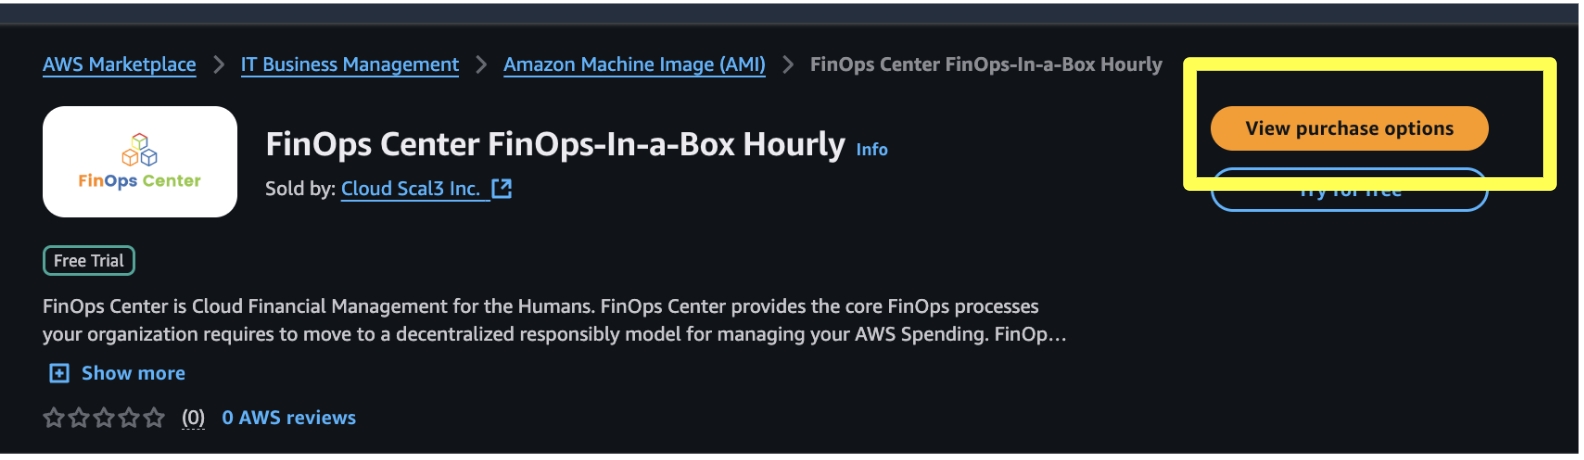
Click to Zoom
Accept Terms
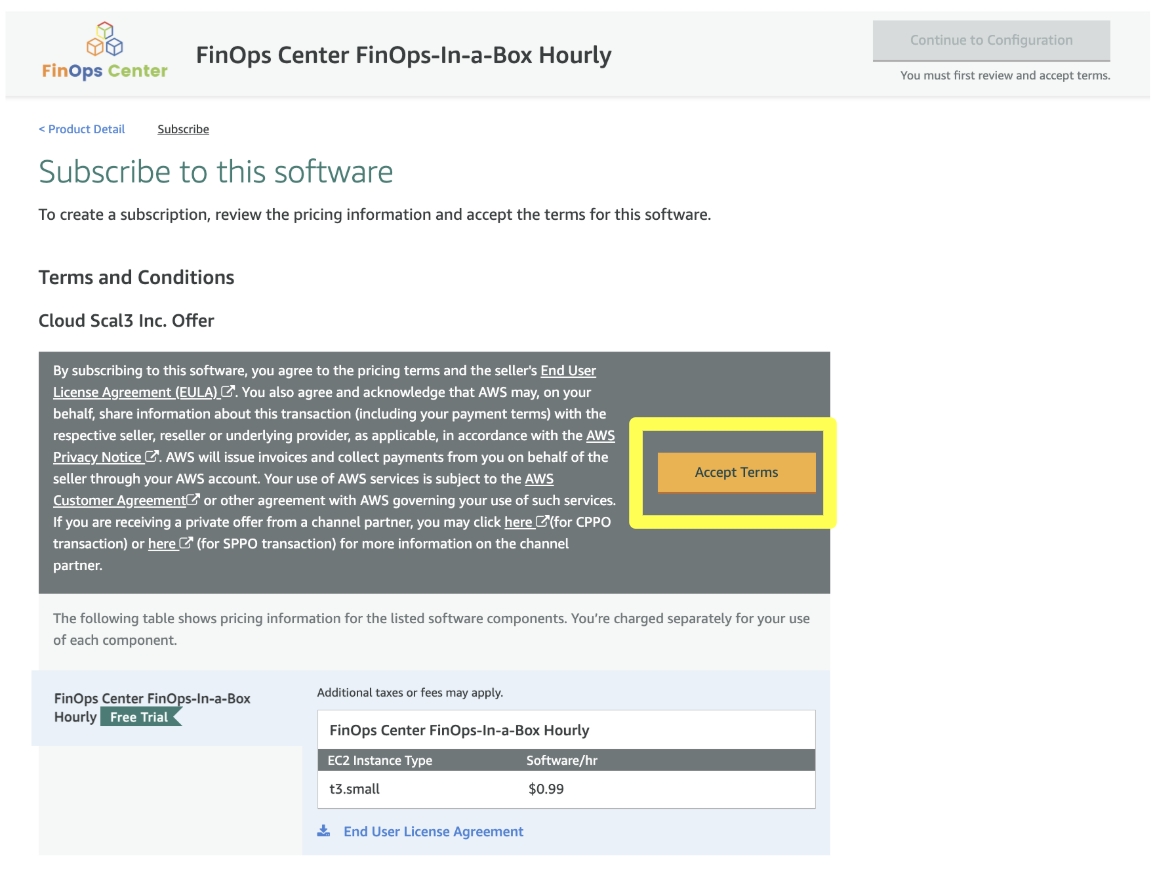
Click to Zoom
Select Continue to Launch

Click to Zoom
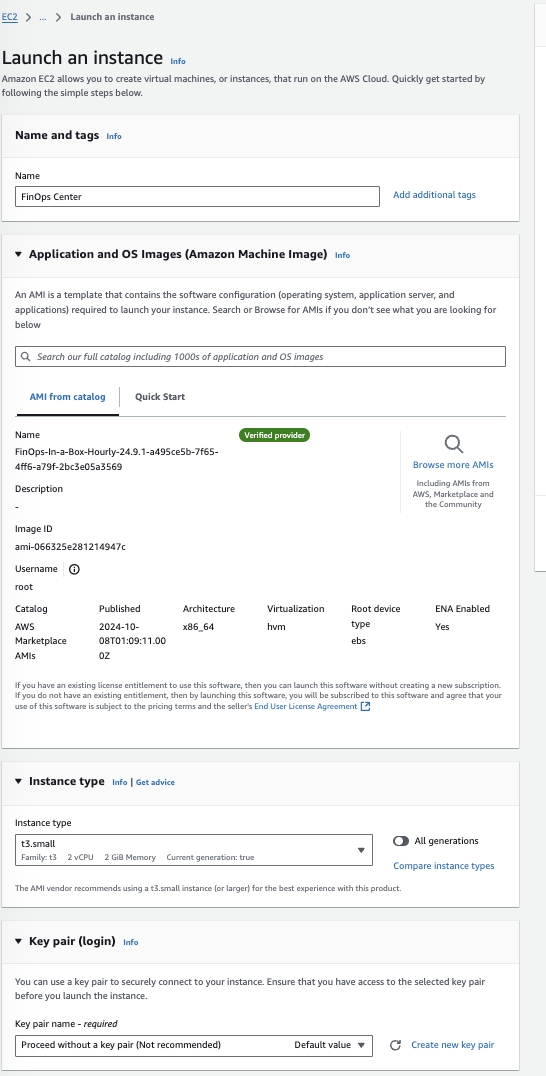
Launch through EC2
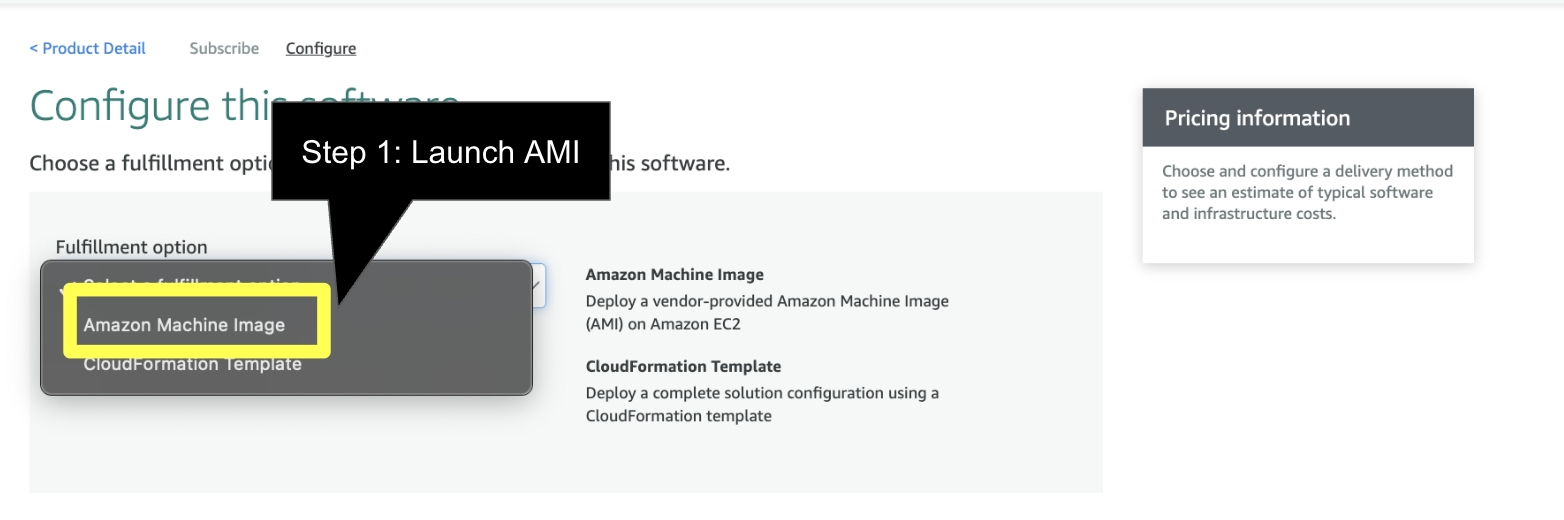
Click to Zoom
Click to Zoom
Configure Instance to your companies standards. As note previously, the EC2 instanced provisioned is used to copy files to S3 for the FinOps Center deployment. We recommend a small instance (T3 Small) be used and can be shut down once the files are copied to S3.
Click to Zoom
Prior to Launch → the IAM Instance Profile much have a Role with Policy to S3 Create Bucket and S3 Write Access for FinOps Center Installation Bucket. Add your AWS Account Number to below Policies.
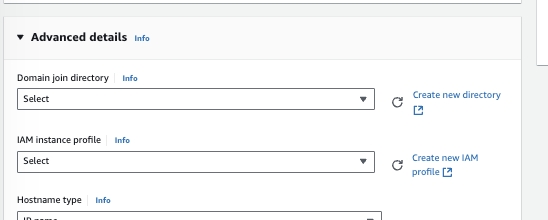
Navigate to IAM and follow below Steps
Step 1: Create a New Role for EC2 or Validate an Existing Role has above Policy.
Click to Zoom
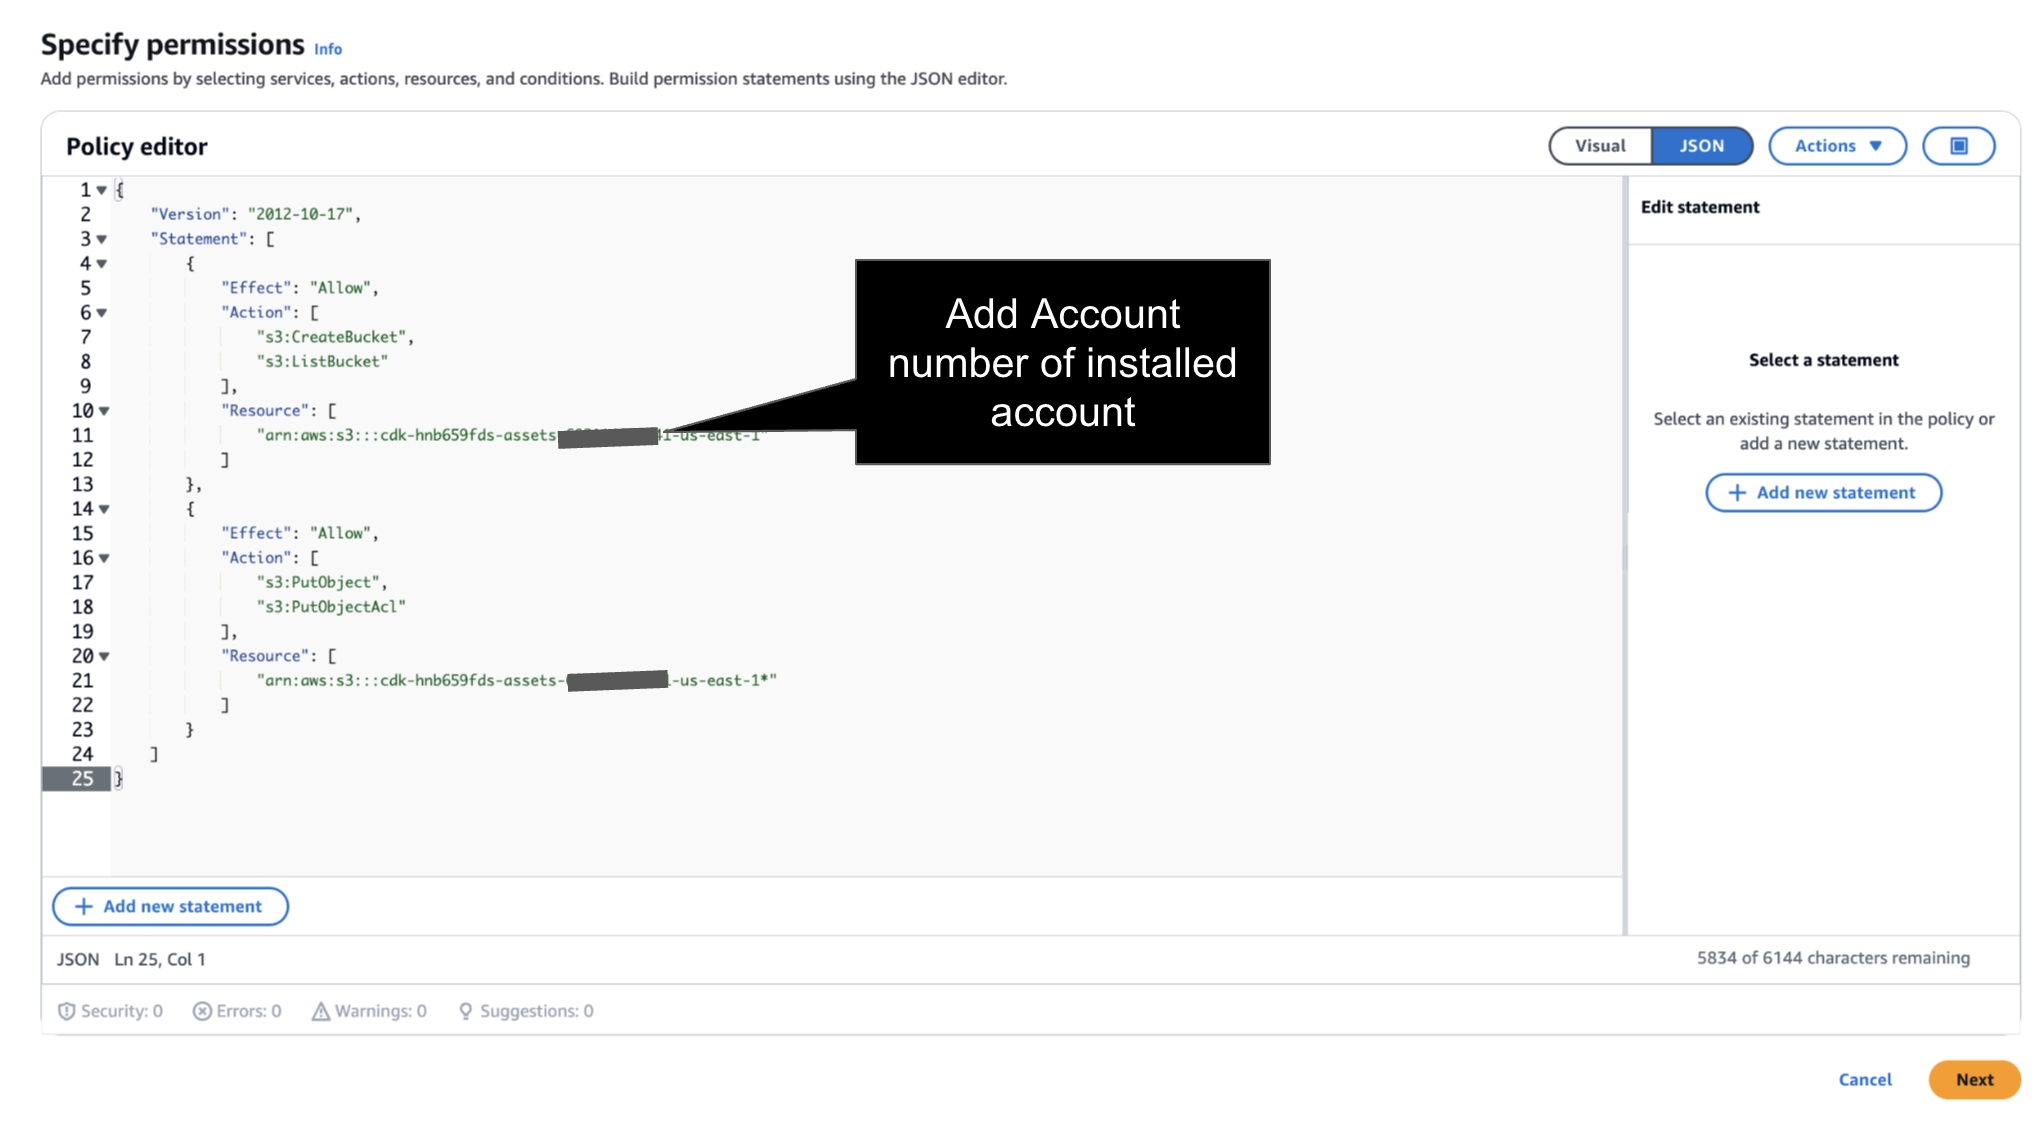
JSON Policy - add account number of installed account.
Step 2: Create a Role

Click to Zoom
Step 3: Add Policy to Role

Click to Zoom
and Create Role

Click to Zoom
Return to EC2 to Launch Instance
No Key is Required as the Instance can be delete upon Install
Launch Instance
Navigate to S3
As the EC2 starts up, a bucket will appear beginning with cdk (see below)
cdk-xxxxxx-assets-accountnumber-us-east-1
US East (N. Virginia) us-east-1
Bucket and objects not public
Timestamp
Once you see the cdk Bucket is created navigate back to the Marketplace Listing to Launch CloudFormation.
Launch CloudFormation
Click Next
Note: All environment installation are “ Fresh Installs”. There is no separate installation pipeline between SDLC environment.
Last updated